-
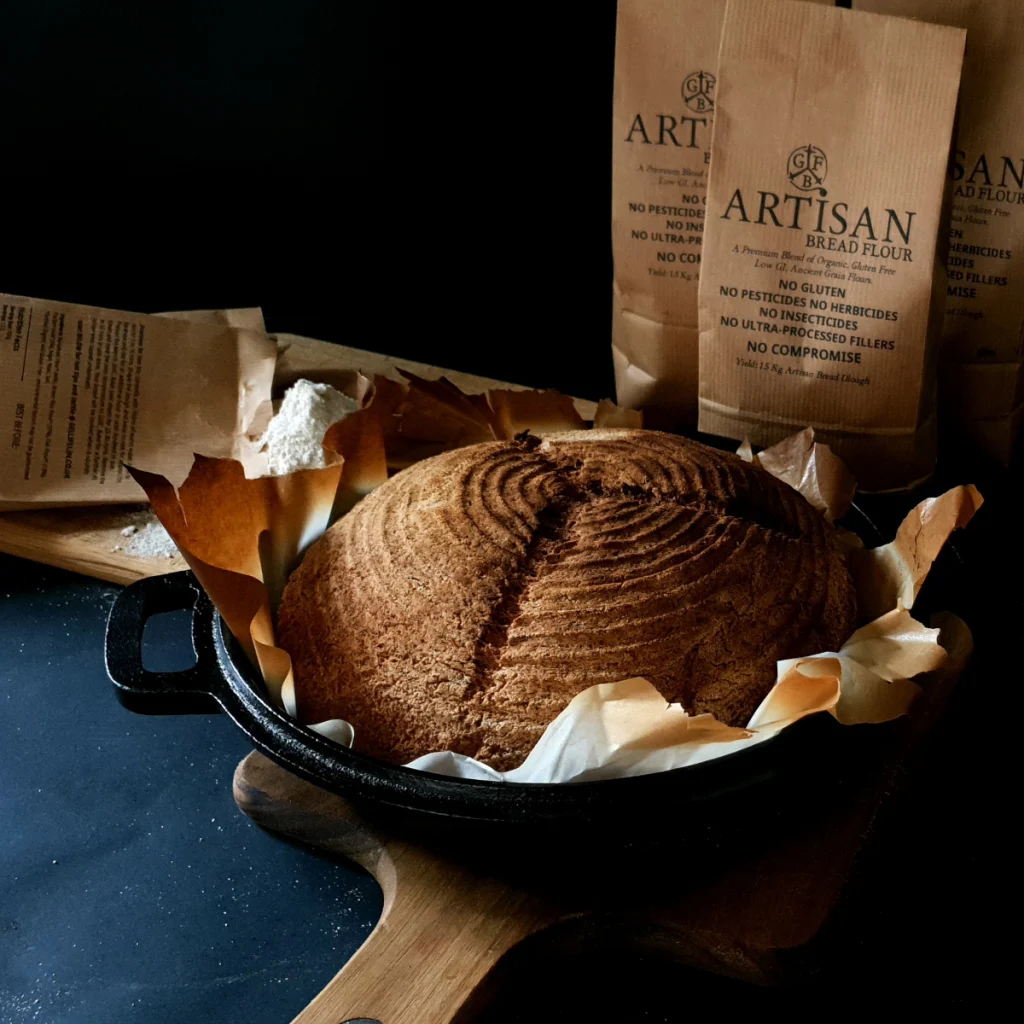
How we make our Organic Gluten Free Artisan Bread
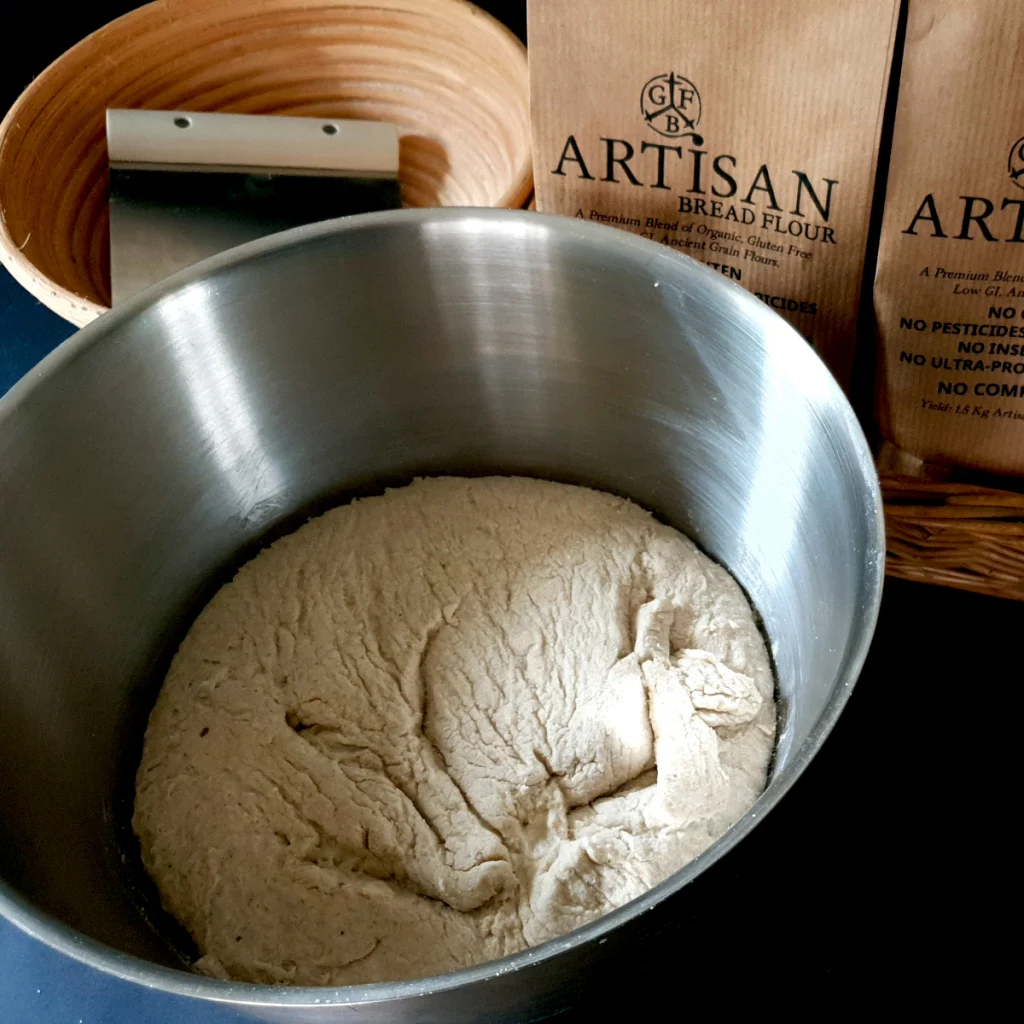
STEP 1.
Mix.
Empty the flour blend into a dry mixing bowl.
Stir with a dry whisk to break up any clumping.
Tidy the sides of the bowl by scraping it down with a silicon spatula.
Make a well in the center and pour in 780ml of warm water.
Working quickly, mix well.
We usually do this by hand. It’s easier than getting the mixer out but the choice is yours.
Take care to incorporate all of the flour.
.
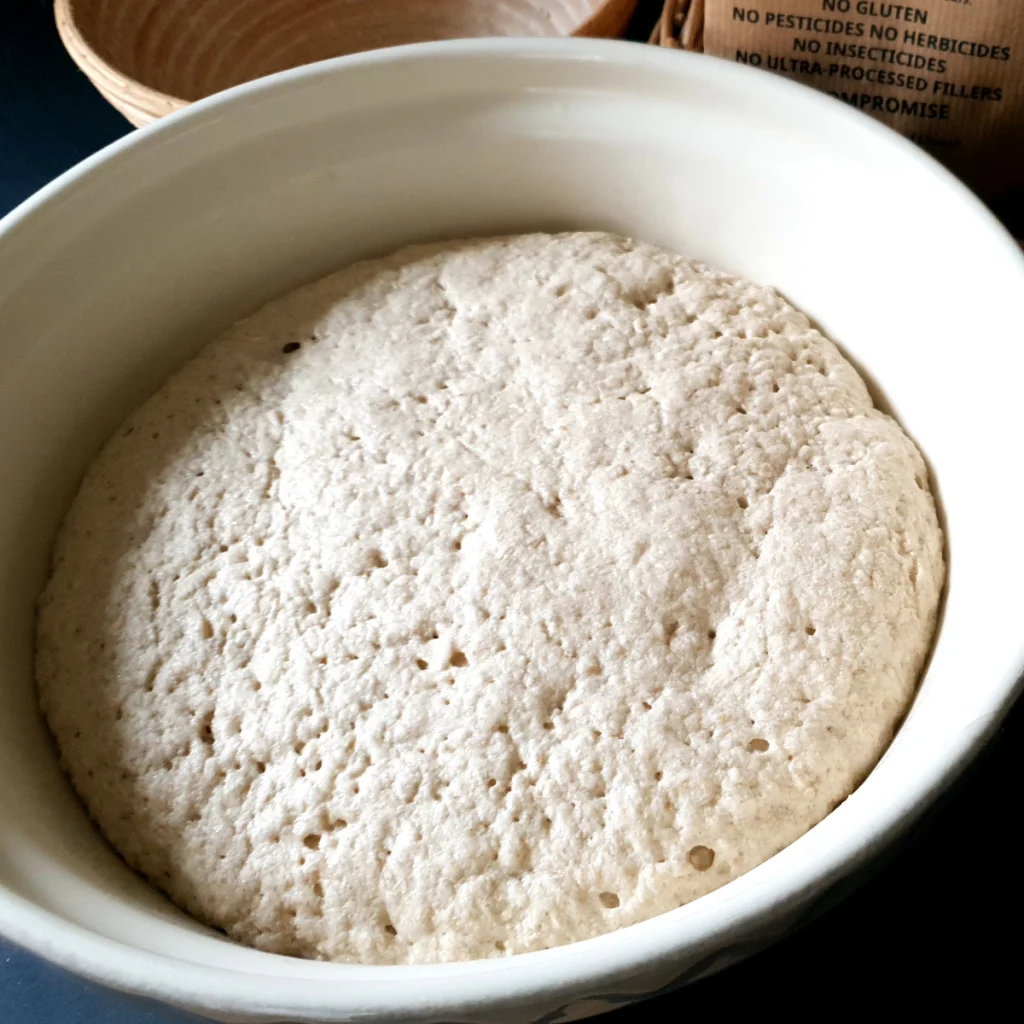
STEP 2
Hydrate – 5-10mins.
Once the dough is mixed allow it to hydrate.
It will seem liquid at first but will firm up over 5 to 10 mins and should look like a bit like this.
STEP 3
Ferment: 1 – 2hrs.
This is where we let nature do it’s thing.
It will take between 1 and 2 hrs to fully rise.
You’ll know when it has doubled in size.
We like to let the dough ferment for one hour covered, in a lightly oiled bowl. We then transfer the dough to a banneton for a second hour.
Once doubled in size it is possible to skip the banneton and move directly on to STEP 5.
Your call.
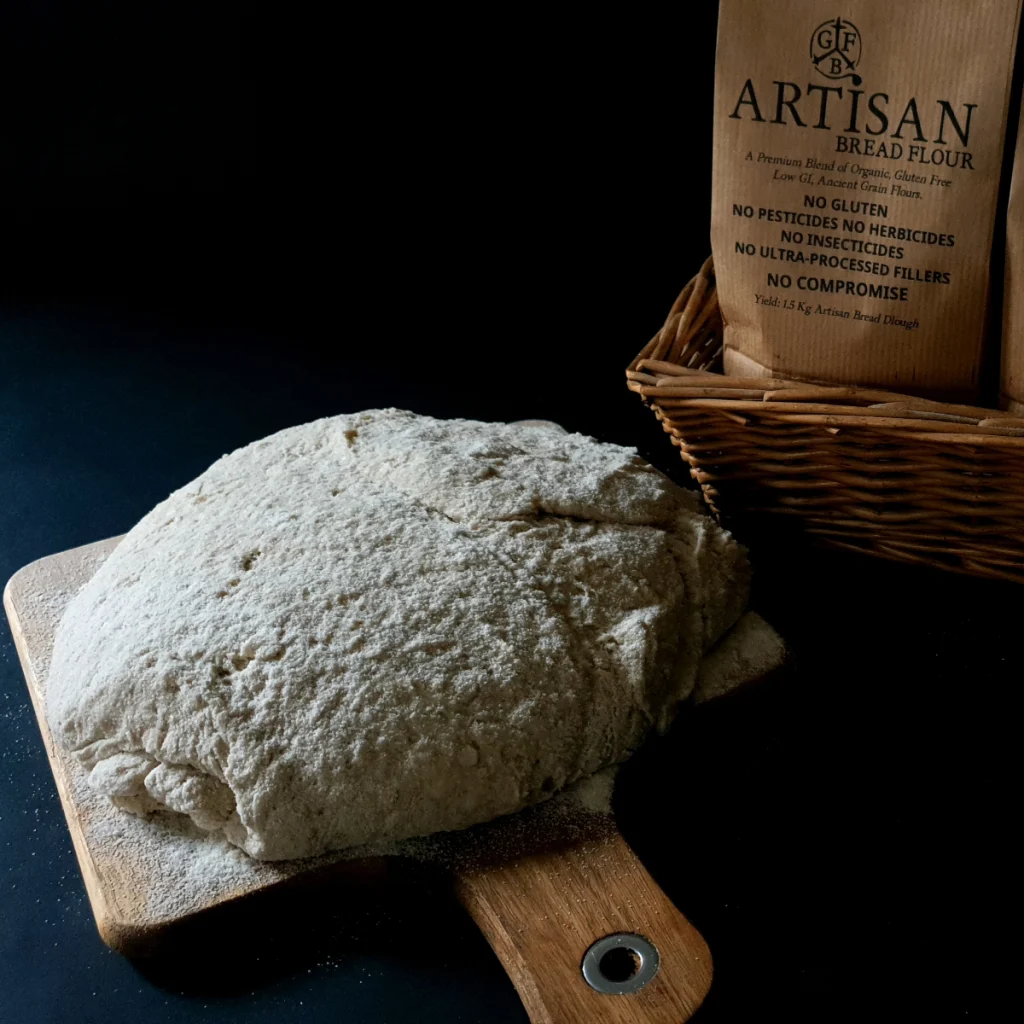
STEP 4
Prove:
Transfer to a lightly floured cane banneton or a similar mould. Allow to rise a further hour.
OPTION 2
Proceed to the step 6.

STEP 6
Bake for 20 -30mins @ 260C:
Preheat the oven to 260 C on a no fan setting if you have one.
We use a cast iron skillet to bake our bread on.
If you are going to do the same thing place this in the oven to preheat at the same time.
We also place a baking tray underneath.
When the oven has reached temperature, turn your dough out onto a sheet of baking paper. In a moment this will help you to position your dough in the skillet without burning yourself.
First, cut a line or cross into the top of the dough, ready to transfer into the hot skillet. When you are ready, take the skillet out and quickly close the oven door. Place the bread in the skillet.
Now quickly again and carefully, place your dough into the oven and pour a glass of water into the baking tray in the bottom of the oven. Closing the door to trap the steam.
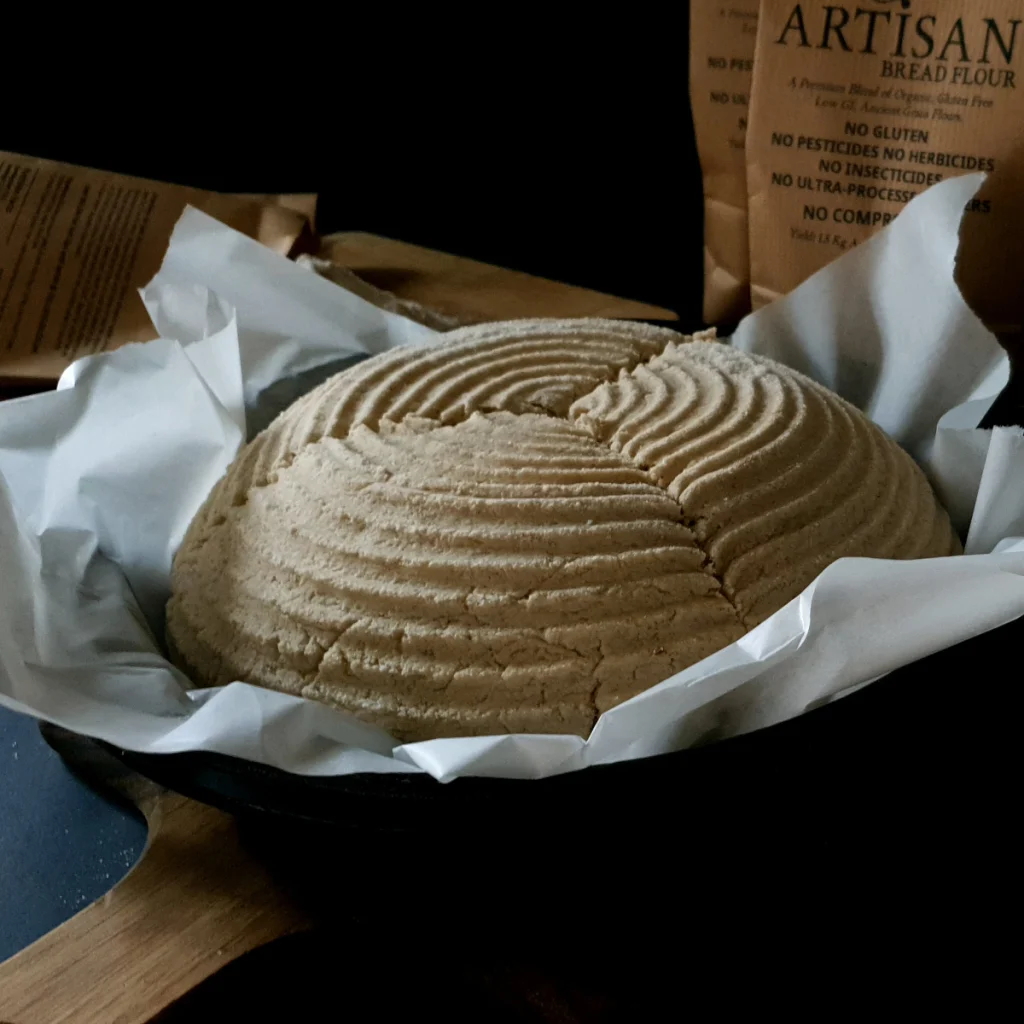
STEP 5
Bake for another 45 – 65mins @ 220C:
Remove the steam. You can turn the oven fan on and set the temperature to 220C. Continue to bake checking towards the end to see if your bread is done.
You can tap underneath. If the bread sounds hollow then it is probably ready.
At this point, we always like to bake it for 10 minutes more. It might just be superstition but it always seems to make for a better loaf – trust me.
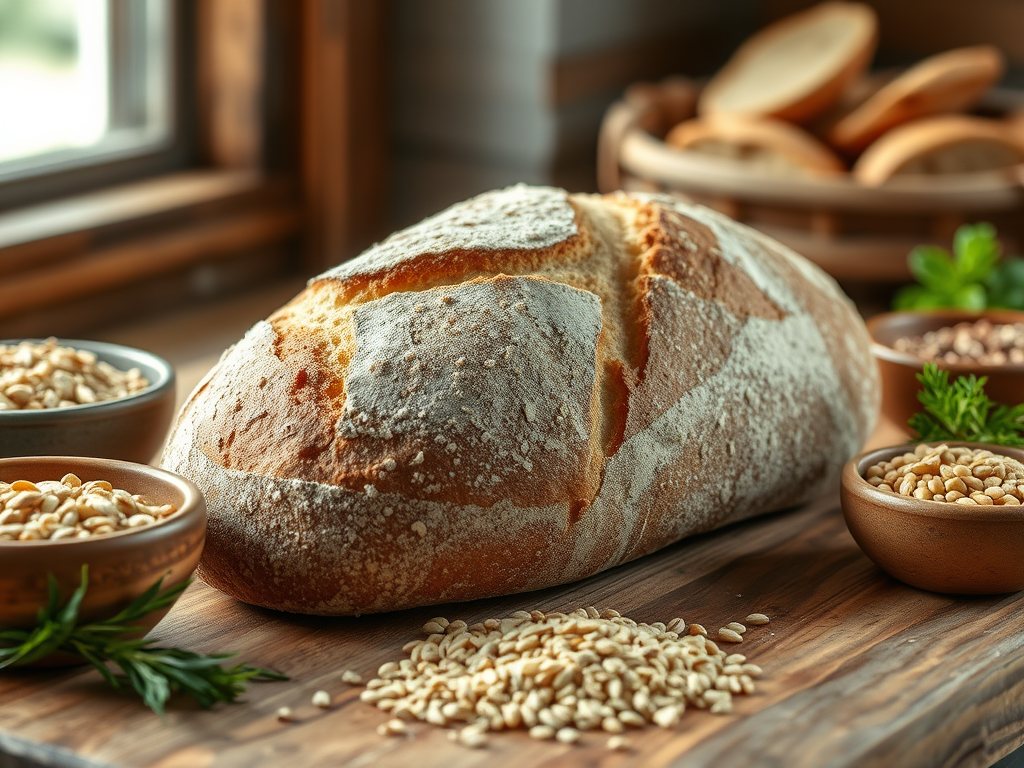
Now let it cool…
& enjoy…
Latest Tips and Tattle
Please add blog posts to your website, to make this section work. You can add posts under Posts -> Add New